 English
 Bahasa
To open a project in Android Studio, follow these steps:
1. Launch Android Studio
- Open Android Studio on your computer by double-clicking the icon or running it from the command line (Linux).
2. Open an Existing Project
- When Android Studio starts, you’ll see a Welcome Screen with options. Choose one of the following:
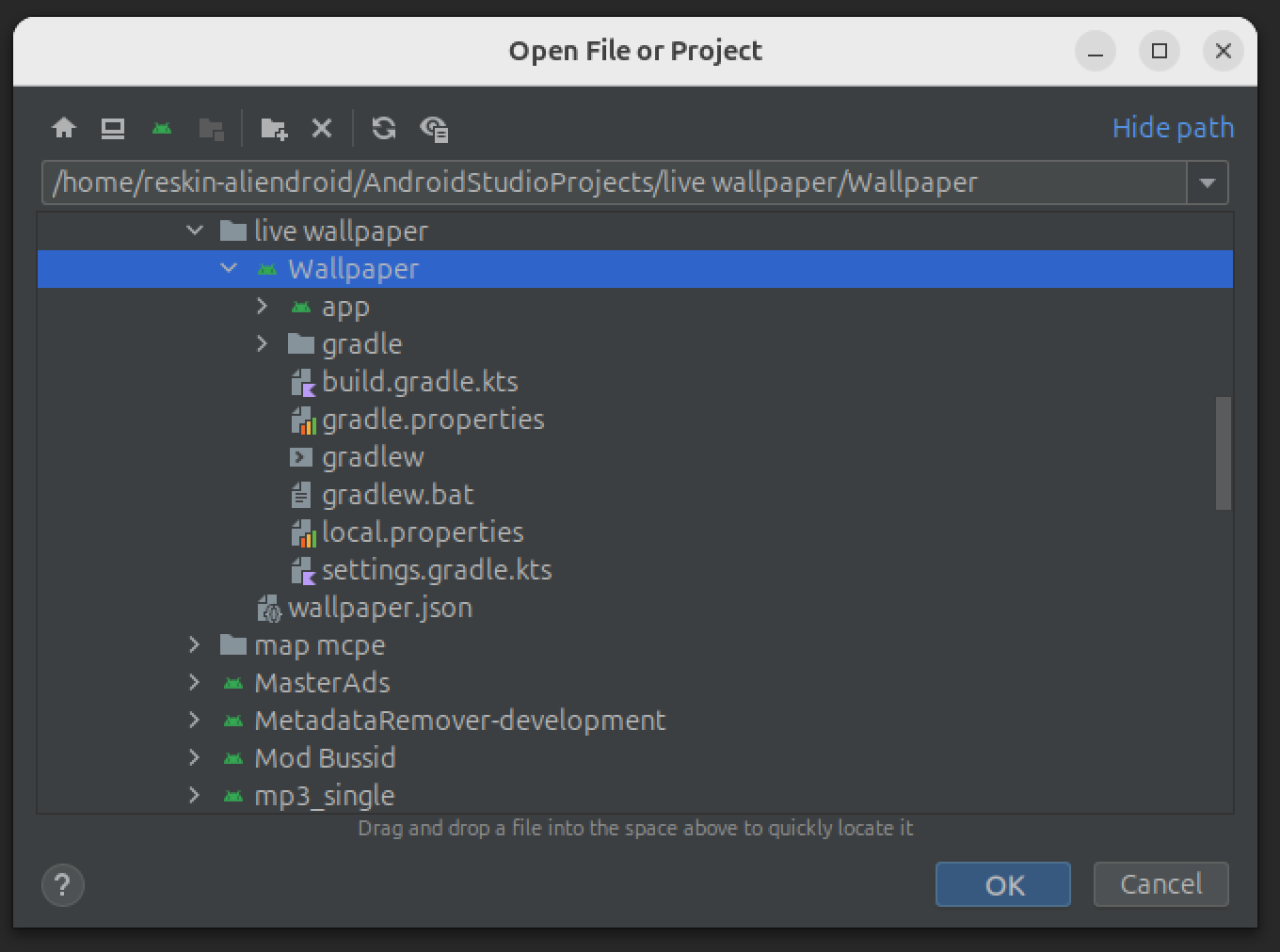
- Open an existing Android Studio project: If the project is already set up for Android Studio, click this option, browse to the project’s folder, select it, and click OK.
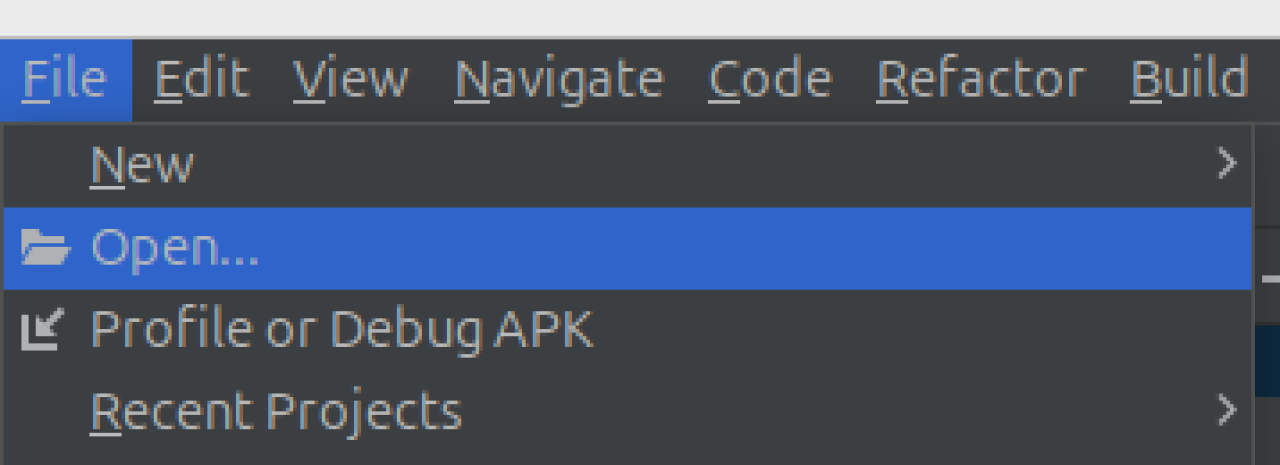
- File > Open... (ex. Wallpaper): If you're already inside a project, go to the top menu, click File, and then choose Open. Navigate to the folder of the project you want to open and select it.
3. Sync the Project
- Android Studio will load the project. If it uses Gradle (the default build system), it might require syncing with Gradle files. You may see a message like "Gradle project sync required."
- Click Sync Now to synchronize the project with the Gradle build files.
4. Resolve Missing Dependencies (if any)
- If the project is missing certain SDK components or libraries, Android Studio will prompt you to download them. Follow the on-screen prompts to install the necessary items.
5. Run or Edit the Project
- Once the project is loaded, you can explore the various files, including source code, XML layout files, and Gradle scripts.
- Use the Run button (green play icon) to build and run the project on an emulator or connected device.
Tips:
- If you encounter issues, ensure the project is compatible with your installed SDK version and that all dependencies are properly configured.
- For opening projects from version control (like GitHub), you can use File > New > Project from Version Control.