 English
 Bahasa
To change the applicationId in an Android Studio project (the unique identifier for your app used on the Google Play Store), follow these steps:
Steps to Change the applicationId
-
Open Android Studio
- Launch your Android Studio and open the project where you want to change the
applicationId.
- Launch your Android Studio and open the project where you want to change the
-
Navigate to the
build.gradle (Module: app)File- In the left-hand Project pane, expand the Gradle Scripts section.
- Find and open the file named
build.gradle (Module: app).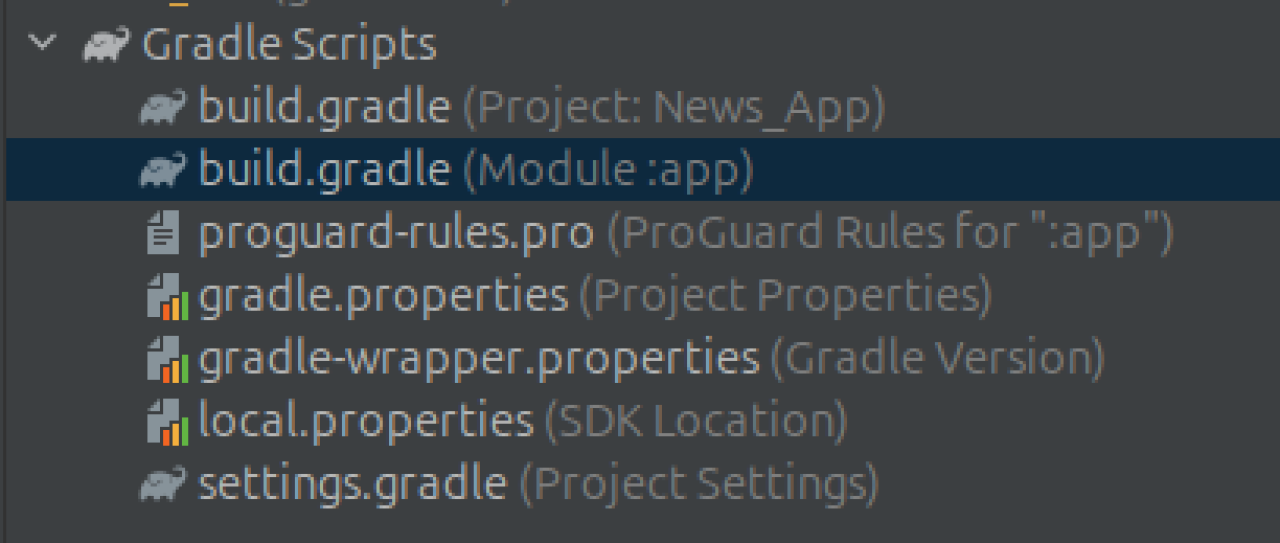
-
Locate the
applicationId- In the
build.gradle (Module: app)file, locate the following block under theandroidsection (ex. com.example.yourapp):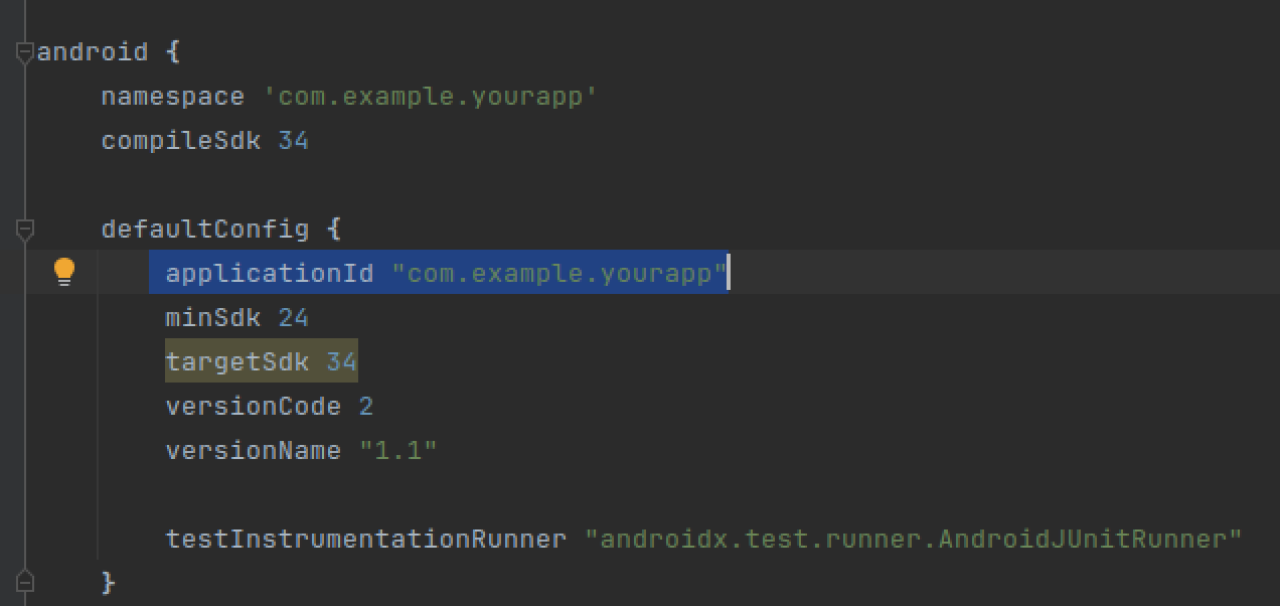
- In the
-
Change the
applicationId- Modify the
applicationIdto your desired new identifier. For example: - Make sure the new
applicationIdis unique and follows the standard reverse domain name format (e.g.,com.newname.appname).
- Modify the
-
Sync the Project
- After changing the
applicationId, click Sync Now in the top-right corner of Android Studio to sync your project with the newapplicationId.
- After changing the
-
Rebuild the Project
- Go to Build > Rebuild Project to ensure the project is rebuilt with the new
applicationId.
- Go to Build > Rebuild Project to ensure the project is rebuilt with the new
Testing Your Changes
- After syncing and rebuilding, run the app on a physical device or emulator to verify that it runs correctly with the new
applicationId.
Important Notes
- Changing the
applicationIddoes not affect your package structure in the code. It only changes the unique identifier used for deployment and distribution. - If you have already published your app on the Google Play Store, do not change the
applicationId, as it will be recognized as a new app.