

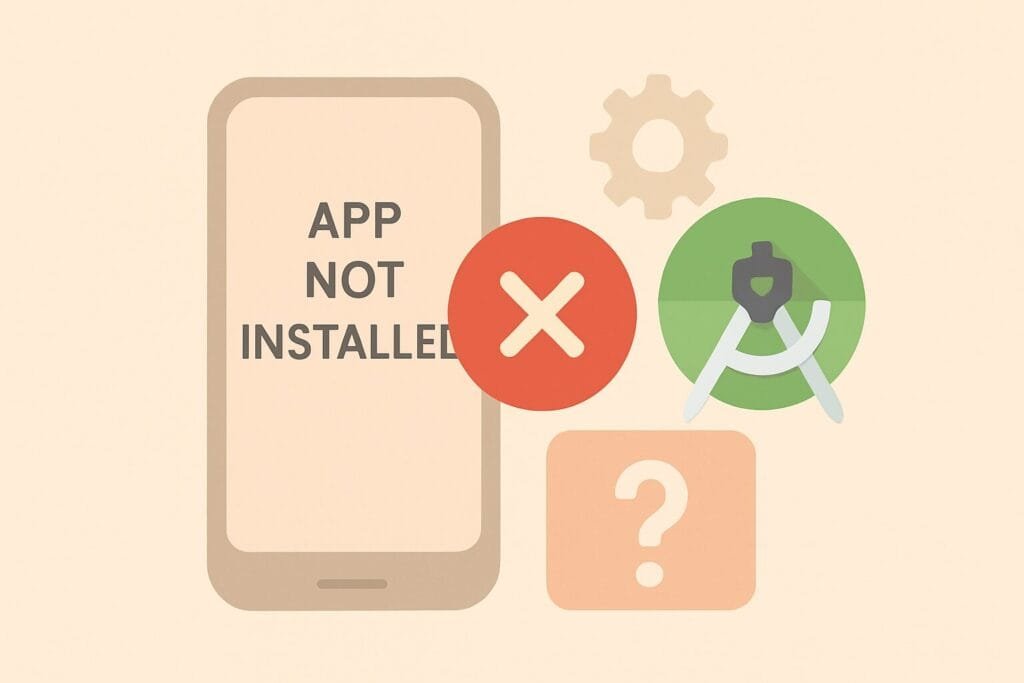
How to Solve the “App Not Installed” Error in Android Studio
When developing Android apps, encountering the “App Not Installed” error can be frustrating—especially if your APK builds correctly, but fails during installation. This issue often affects developers testing directly on physical devices or emulators. It can result from various causes, from signature conflicts to corrupted APK files or incorrect device configurations. Fortunately, the problem is usually easy to fix once properly diagnosed.
In this article, we’ll explore the most common causes of the “App Not Installed” error and walk through practical solutions to resolve it. Whether you’re using Java or Kotlin, these tips are universally applicable in Android Studio.
Common Causes and Solutions
| Cause | Description | Solution |
|---|---|---|
| Incorrect Signing Config | APK is signed with a different key than previous installs | Uninstall the previous app or align the signing config |
| Duplicate Package Name | Package name already used by a system or existing app | Rename your package or uninstall conflicting app |
| Insufficient Storage | Device doesn’t have enough space to install the app | Free up storage space before trying again |
| APK Corruption | APK file is incomplete or corrupted | Rebuild the project and clean the build |
| Incompatible SDK Version | APK targets an unsupported API on the device | Check minSdkVersion and targetSdkVersion |
| Installation from Unknown Sources Blocked | Device blocks apps not from Google Play | Enable installation from unknown sources in settings |
Proven Fixes for the Error
- Uninstall Existing App with Same Package Name
If an app with the same package name is already installed—especially if it was signed with a different key—Android will reject the new APK. Go to your device settings and uninstall the existing app manually before re-deploying from Android Studio. - Check App Signing Configurations
If you are signing your app manually or using a custom keystore, ensure it matches previous builds. Mismatched keys can result in install failures. - Rebuild and Clean Project
Use Build > Clean Project and Build > Rebuild Project in Android Studio. This helps eliminate any corrupted build artifacts that may lead to installation issues. - Enable Installation from Unknown Sources
If you’re not deploying via Google Play, Android devices require this setting to be enabled. Go to Settings > Security and toggle Install from Unknown Sources for your device or app source. - Use ADB for Installation
A more controlled installation method is using ADB (Android Debug Bridge). Use the command:
adb install -r your_app.apk
This will give you detailed logs on why the installation fails, helping you pinpoint issues more precisely.
Additional Tips
- Always keep your device drivers updated.
- Test on both physical devices and emulators.
- Use Logcat in Android Studio to track installation events and error messages in real-time.
For a deeper dive into Android APK signing and security best practices, check out Android Developers’ official signing guide.