

Creating an intuitive and user-friendly interface is crucial in mobile development. One common design pattern is Bottom Tab Navigation, which allows users to easily switch between primary sections of an app. In this tutorial, you’ll learn how to implement Bottom Tab Navigation using Dart language in Android Studio with Flutter framework.
Why Use Bottom Tab Navigation?
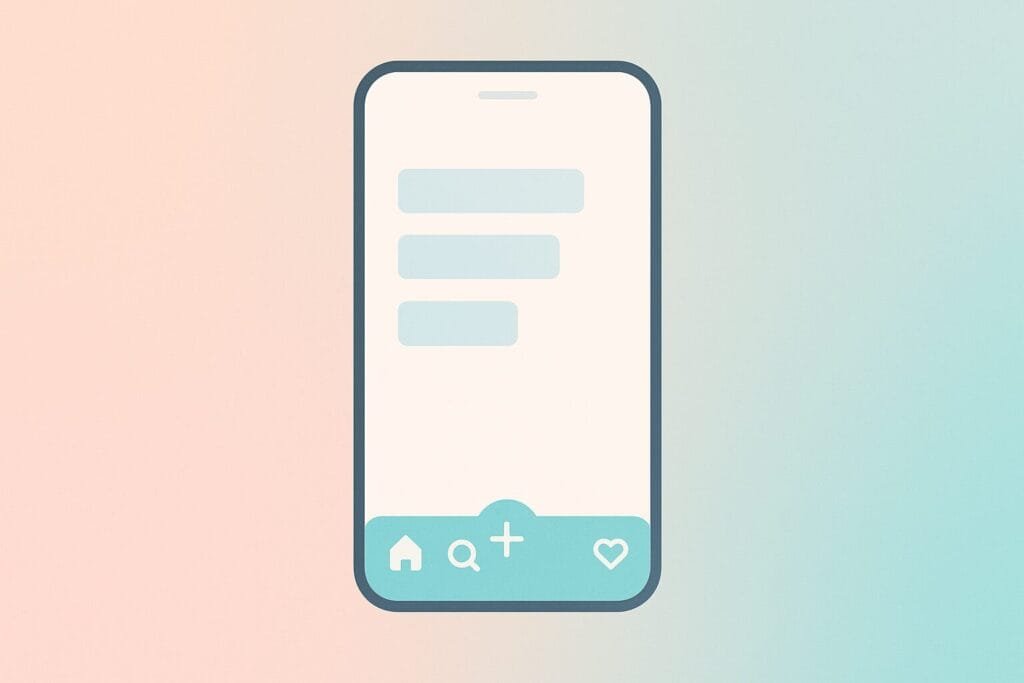
Bottom navigation bars make it easy for users to explore key sections. They are especially useful in applications with 3 to 5 top-level destinations, such as home, search, profile, or settings.
Tools Required
- Android Studio (latest version recommended)
- Flutter SDK
- Dart language (comes with Flutter)
Need help installing Flutter? Follow this official Flutter install guide for setup.
Project Structure
We’ll build a simple app with 3 tabs: Home, Search, and Settings. Each screen will be separated into its own Dart class for better maintainability.
1. main.dart
import 'package:flutter/material.dart';
import 'home_page.dart';
import 'search_page.dart';
import 'settings_page.dart';

void main() {
  runApp(MyApp());
}

class MyApp extends StatelessWidget {
  @override
  Widget build(BuildContext context) {
    return MaterialApp(
      title: 'Bottom Navigation Demo',
      home: BottomNavScreen(),
    );
  }
}

class BottomNavScreen extends StatefulWidget {
  @override
  _BottomNavScreenState createState() => _BottomNavScreenState();
}

class _BottomNavScreenState extends State<BottomNavScreen> {
  int _currentIndex = 0;
  final List<Widget> _screens = [HomePage(), SearchPage(), SettingsPage()];

  void _onTabTapped(int index) {
    setState(() {
      _currentIndex = index;
    });
  }

  @override
  Widget build(BuildContext context) {
    return Scaffold(
      body: _screens[_currentIndex],
      bottomNavigationBar: BottomNavigationBar(
        currentIndex: _currentIndex,
        onTap: _onTabTapped,
        items: const [
          BottomNavigationBarItem(icon: Icon(Icons.home), label: 'Home'),
          BottomNavigationBarItem(icon: Icon(Icons.search), label: 'Search'),
          BottomNavigationBarItem(icon: Icon(Icons.settings), label: 'Settings'),
        ],
      ),
    );
  }
}
2. home_page.dart
import 'package:flutter/material.dart';

class HomePage extends StatelessWidget {
  @override
  Widget build(BuildContext context) {
    return Center(
      child: Text(
        'Welcome to Home Page',
        style: TextStyle(fontSize: 24),
      ),
    );
  }
}
3. search_page.dart
import 'package:flutter/material.dart';

class SearchPage extends StatelessWidget {
  @override
  Widget build(BuildContext context) {
    return Center(
      child: Text(
        'Search Something Here',
        style: TextStyle(fontSize: 24),
      ),
    );
  }
}
4. settings_page.dart
import 'package:flutter/material.dart';

class SettingsPage extends StatelessWidget {
  @override
  Widget build(BuildContext context) {
    return Center(
      child: Text(
        'App Settings',
        style: TextStyle(fontSize: 24),
      ),
    );
  }
}
Conclusion
This basic Bottom Tab Navigation example demonstrates how easy it is to structure multi-page apps using Flutter and Dart in Android Studio. You can scale this architecture by adding more screens or advanced navigation with named routes or the go_router package.
Bottom Tab Navigation is essential for user experience and remains a best practice in app design. Customize icons, colors, and transitions to suit your brand.